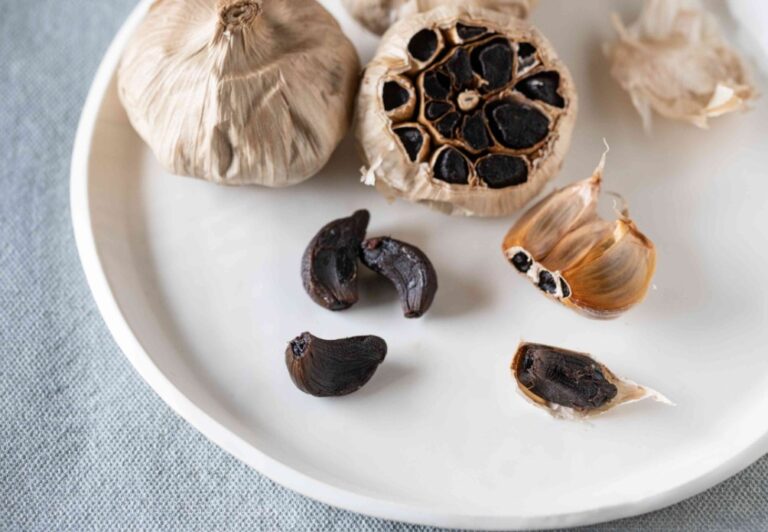
Although most people don’t realize it, black garlic is a common ingredient that can be found on menus from all over the world. But, what is it? How is it made? Is it really fermented? Luckily for all individuals that are wondering the same thing, you’ll be able to find the answers to these questions in the article below. So, without losing any more time, here is our 2024 step-by-step guide on how black garlic is fermented:
1. Gather The Ingredients + Clean The Bulbs
One of the first things that you should know is that the only ingredients you’ll require are six or several whole and unpeeled garlic bulbs. Once you purchase the garlic, the next step is to clean it. Hence, by utilizing an unused and clean sponFpige, gently remove any dirt with the rough side. Keep in mind, you shouldn’t remove the cloves at all, and also, don’t wash or wet them since you won’t be able to age them properly.
2. Set Up Your Rice or Slow Cooker
Once you’ve prepared the black garlic bulbs, your next step is to set up either your rice or slow cooker. The appliance you’ll use will depend on what you have in your hand, and keep in mind, without one of these two devices, you won’t be able to ferment the garlic. You should set it to a warm – not low temperature – mostly because this temperature will provide you with the right heat to age the garlic without having to cook it.
3. Place The Ingredients in The Cooker
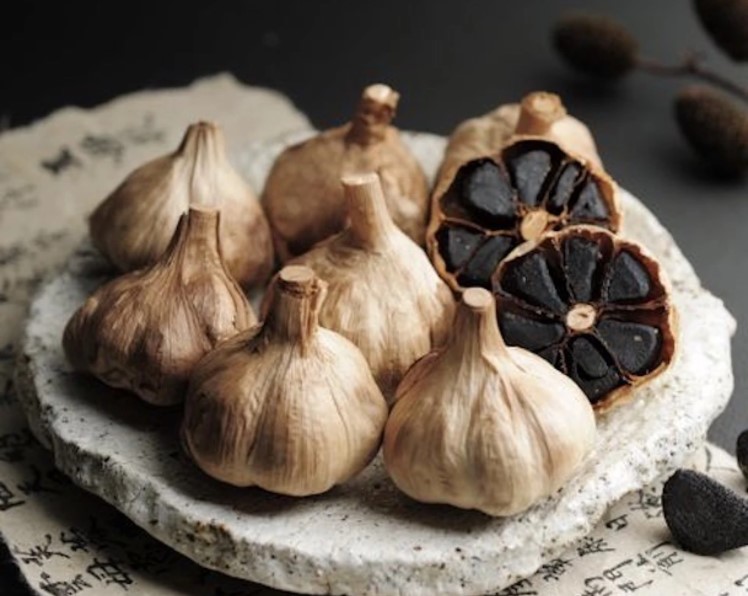
In order to ferment and gain all the benefits of black garlic, you’ll have to place the whole, unpeeled, and cleaned bulbs into your cooker. Now, you should keep in mind, you shouldn’t put too much in the cooker, mostly because they won’t get fermented properly. This is one of the main reasons why you should leave some space between each of them, and neither of them should touch each other. Once done, place a lid over the cooker.
4. Wait!
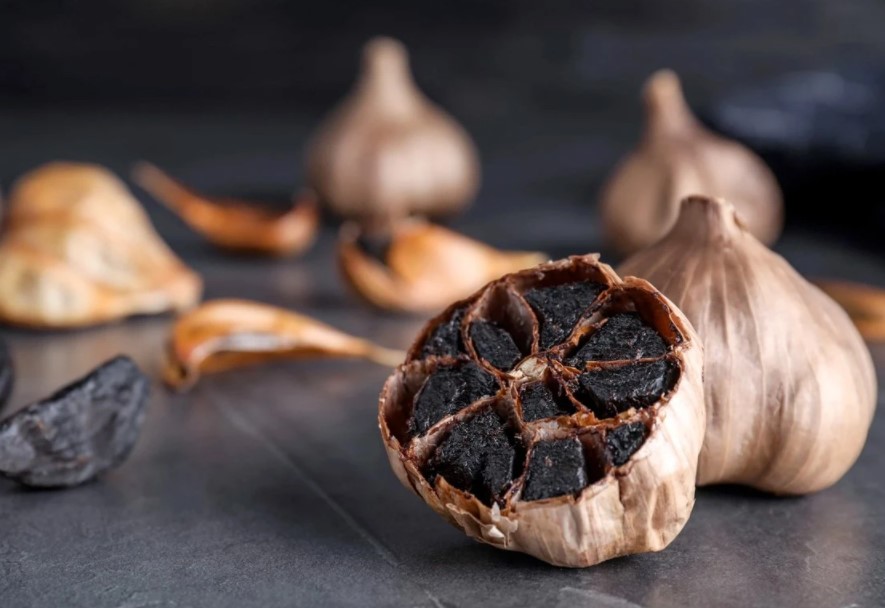
During this step, you’ll have to wait for approximately 2 to 3 weeks for the cloves to be fermented. Keep in mind, you shouldn’t remove the lid from the cooker during this time since if you do, the cloves won’t be black, nor soft. Once in five days, you should check the cooker to ensure that the heat is still adjusted to ‘warm’. You should know, you could leave it for longer, but not less than two weeks.
5. Store Them Properly
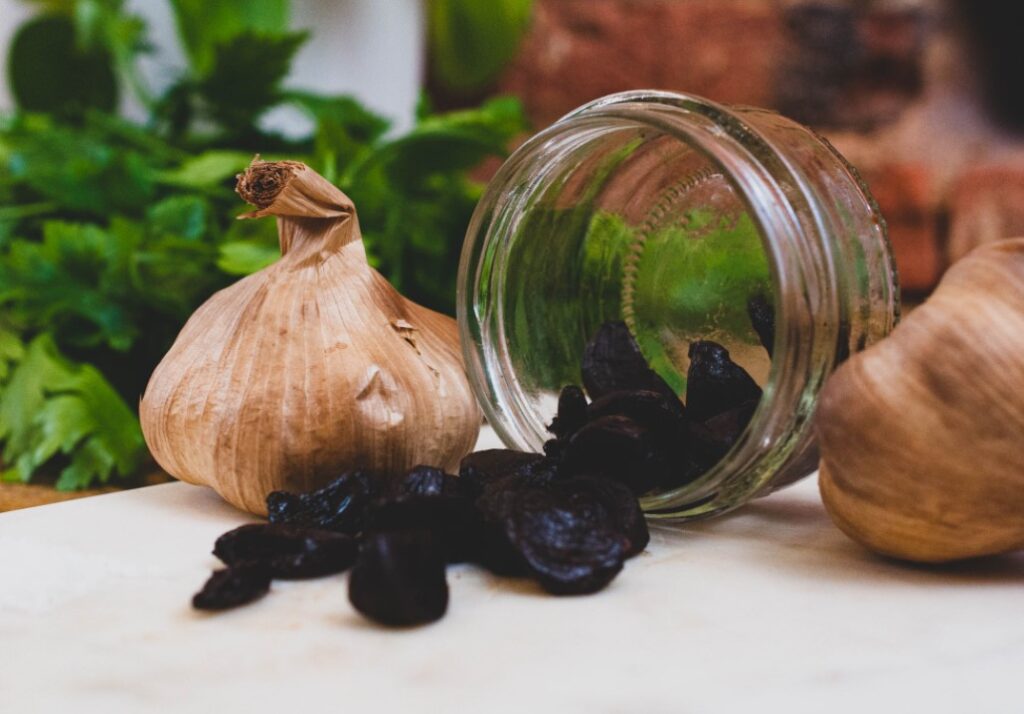
If you left the cloves for two to three weeks in the cooker, they’ll be ready for storing. Now, you should know, you shouldn’t consume them as soon as they’re done. Instead, you should place the bulbs in a container that is airtight and leave it for approximately two to three months. If needed, you could squeeze them out.
Conclusion
It is not daunting and complex to prepare black garlic, however, you should know that it’ll take you a long time to prepare it. So, now that you know what you’ll have to do, you shouldn’t lose time. Instead, you should start with the first step we mentioned – which is purchasing six to seven garlic bulbs.