There are a number of things that people can do at home. These activities are better known as Do It Yourself or DIY. There are many examples of activities you can do on the Internet. These are ideal for a number of crafts that can be made with little knowledge and equipment.
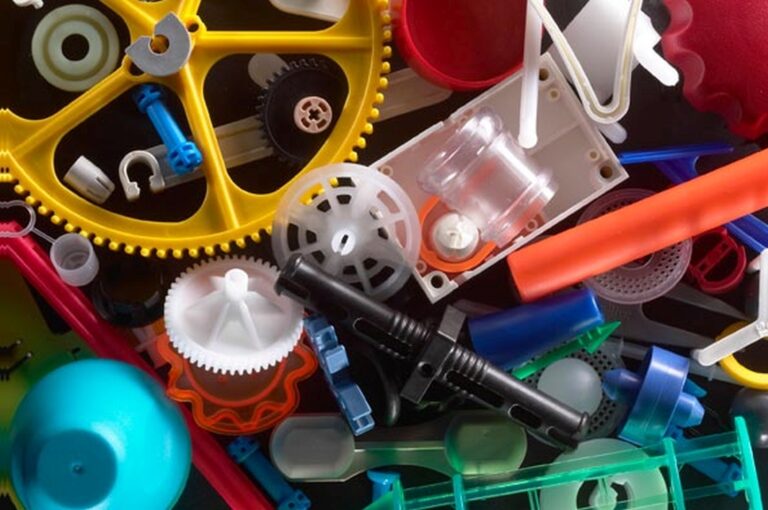
What can be done? There are many things you can do yourself. There are many ideas, some of them are making a home air freshener, handmade shelf, handmade cup mats, and even making a variety of plastic products known under the old method. What does this method mean? This method means to make products from plastic, ie from a previously prepared mixture.
We regularly use specialized professional equipment for plastic mold that gives perfect results and error-free results that you will be satisfied with, but at home, it is really more expensive and that is why there are these DIY ways. Believe it or not, you can do this yourself at home. Using one of the Do It Yourself methods you can turn this into reality and from the comfort of your own home. Already got the urge to do something? Want to try to mold plastic parting at home? Today we will talk about that topic and give you tips on how to do it yourself from home. Let’s get started!
- Find a suitable device that can melt your mold material – first of all, you need to find a device that can melt your mold material. It can usually be a device that makes heat large enough to melt the material, so you can try a microwave or a hairdryer with more power.
- Find the right mold material and melt it – whenever you want to make mold plastic parts at home you need to do it with the most suitable material. Therefore, it is necessary to find the one that is most suitable for home use, and then to melt it and prepare it for home use.
- Make molds or get molds in which you will make the plastic parts – the next step you need to do is to get molds or make your own molds in which you will pour the already melted mixture to get the shape you want.
- Pour the molten mold into the molds – the next step is to pour the molten material into the molds. The molds must be cold and the material warm. Be careful to distribute the material evenly in the molds so that no empty spaces are made inside.
- Let stand and then remove from the molds – the last step is to allow the molds to tighten for a while while they are in the molds, and once they have cooled you will need to remove them and allow them to tighten further.
Here are some simple steps you can take to begin the process of preparation for mediation. Remember, it is important to have quality material to make, to melt it in a suitable device, to have molds in which to pour it, and to leave it enough to tighten the final product. Isn’t it easy? Now it’s your turn!